
Or how I can’t just seem to work on one project at a time.
Those of you who have been following along in the past few weeks know I am working on a T-shirt quilt for step-daughter M—. As interesting as it is, it is pretty dark overall. When I saw a package of pre-cut fabric strips with the tantalizing moniker of Sea Glass, I just had to have them. Not only are they pretty colors, but they are batiks. My absolute favorite kind of fabric to work with. It irons crisply which makes it easier to line up all the edges and points.
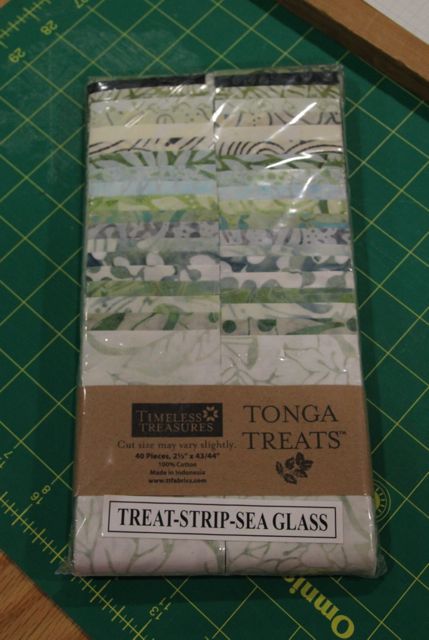
I generally like to choose my own fabrics, but these all went so well together, and I was making some pretty heavy decisions on the other quilt, that I just went with what was here. They are all 2 1/2 inches wide, so I went for a pattern I’ve made a few times before. The Trip Around the World is one of those traditional patterns – I love mixing traditional patterns with modern fabrics – that is reasonably easy to whip together. All I had to do was find my idiot proof instructions. Because, while I have made this at least twice before, I think the last time was at least 6 years ago. I finally turned up what I had used before, but I wanted more. More is always better, right?
I found one here and another here. While I didn’t actually follow either of them exactly – the strip sizes weren’t the same as what I was working with – the general instructions were all I needed to jog my brain. 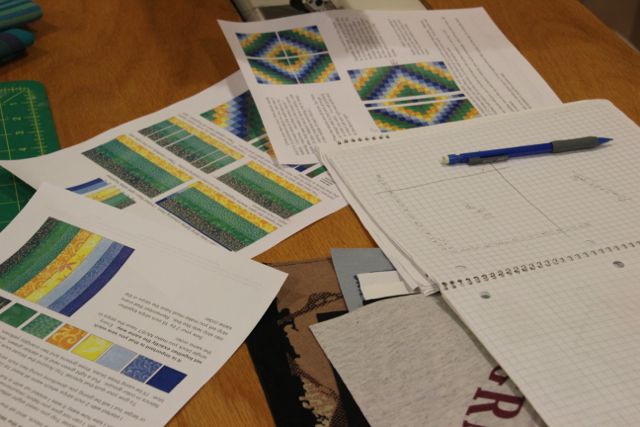
Next I drew out my pattern based on what I thought I had. Take careful note of that sentence, because it’s a math thing.
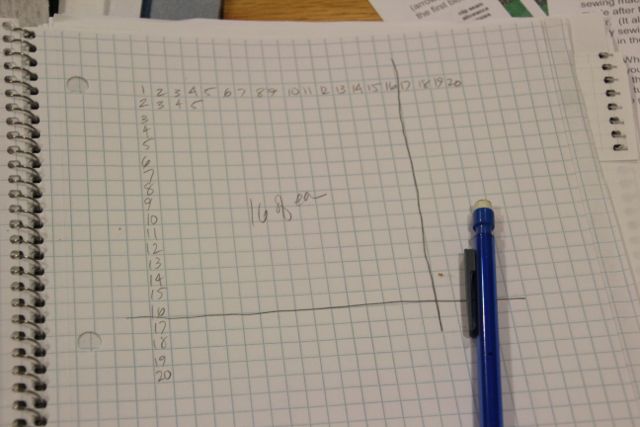
Looks easy, right?
I wrote “20” across the top because that’s how many different fabrics were in the package. And there were 2 of each color, so I should be fine if I made it 16 across, right? WRONG. My math addled brain didn’t calculate that this would only make 2 quadrants out of 4. I ran out of strips and had to order more. Sadly, this was a discontinued fabric. Whoops! So I found some on eBay, but I ended up paying a smidge more than I had more the first pack. Also it only came in pieces that were 6″ wide, so I had to cut my own strips. Not a big deal except that I had to be really careful I didn’t screw it up, and it took a little time.
It’s important to note here, for the would-be quilt makers in the group, that I had to go with 16 instead of 20 because the fabric is only 44″ wide. Each square ends up at 2 1/2″ square before seam allowances. So, here’s the math, 44 ÷ 2 1/2 = 17.6 This means 16 plus one for my center. Perfect. If only I had paid this close attention when I was designing it in the first place. OR if I’d designed it before I bought my fabrics. Nah!
So here’s another big math lesson for anyone who wants to make this pattern with 2 1/2″ strips which, by the way, are the full width of the fabric – If you only have 2 of each color, you can make a quilt that uses 8 colors. You will be cutting them in half. But if you want one the size I made, you need 4 of each color.
-
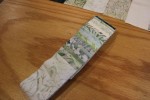
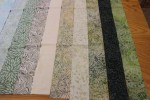
- Out of the package
-

- As they came out of the package

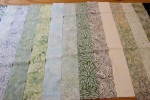

Using only one set of strips, lay them all out in a gradient, sew them together – always starting at the same end – and follow the instructions for ironing. This is a fairly important piece, because it helps a lot with making sure all the seams line up properly.
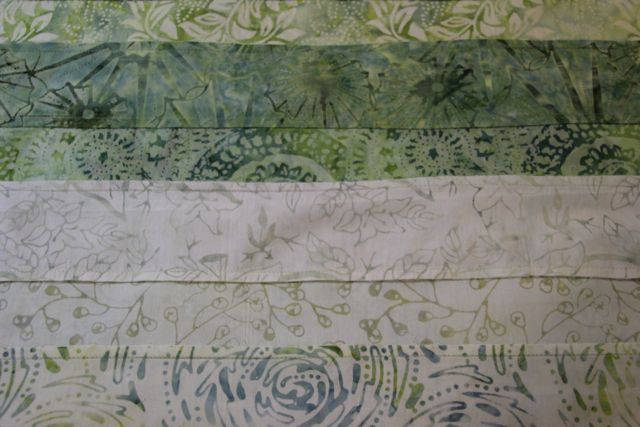
Note the seams are ironed every other one in the opposite direction
Then the flat strips gets sewn together in a tube. Iron the last seam opposite from the two on either side of it, and lay it out on your cutting surface so that the seams are all as flat as possible. Line up your ruler so that the seams align with the lines on the ruler and cut off the selvages.

Then flip it around – I usually just spin my cutting mat around, so I don’t disturb the carefully laid out fabric – and cut a series of 2 1/2″ tubes. If you are stretched as tightly with your fabric allowance as I was, you can’t afford to slip here, so take your time.
-

- cutting
-

- cut tubes

Next you are going to pick the tubes apart, each one one square offset from the one next to it. I find it is best to lay them out as I cut them, so I don’t lose track of the next one. Especially if you are likely be interrupted by the cat, your husband, Bigfoot, whatever.


Then one at a time stitch them together starting from the right and working to the left. I like to go in pairs, so I can chain stitch. It can help to have one other set of strips laid out somewhere else, hence the ironing board, so that you can have another reference for where you should be in your piecing. This is also where your ironing will help you get the square aligned.

See how the seams are going in opposite directions? Just use the bump to butt them up against each other and sew away.
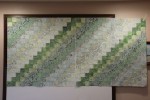
After I got all the sections together, I put them up on my design wall to see which way I liked them best. This is when I panicked and realized that I had half as much fabric as I needed. Brilliant!
-

- light to dark
-

- dark to light
-
- not a Trip Around the World but interesting anyway
I went with the light-to-dark. That was what I had in mind when I started, but you never know. If you try out different arrangements, you may find something you like better.
There was one extra strip from cutting the tubes. I had left this as a tube while I sewed the rest together, because I didn’t know where I was going to have to pick it apart. This became the center piece between each section. But I didn’t want the center to have any dark in it at all, so I picked off the dark square that would have been there and substituted the lightest color from the 4 fabrics in the collection that I hadn’t used at all. I used the same fabric for the very center square. TA DA! Current size is 66 1/2″ square. The 1/2″ is seam allowance, so it’s really 66″ inches so far.


Now it’s back to the t-shirt quilt for a while. I need to think on what I’m going to do about borders for this. Since I have no more of the fabrics that went into the center, I’ll likely take it to my favorite quilt store and look for batiks to fill out the edges. More to come. After the guest room is finished and the the t-shirt quilt is done.
Will I keep this one for myself? Unless someone loves it so much they offer to pay me for it. Yep.
OOh, this one is beautiful! Can’t wait to see it in person. You might have to fight me for it. Love, Mom