
This project was done in 2009. It was the beginning of the Sun Porch fix up. The motivation for it – besides the fact that we really needed a coffee table on this big sun porch – was that the side table my grandfather had built howevermany long years ago, had a center tile that I really liked.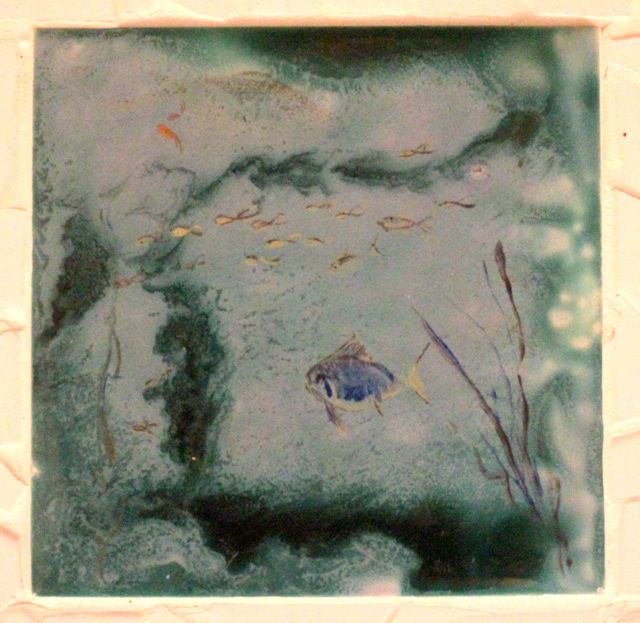
But it didn’t go with the table very well, and that table needed repairing. It has a mahogany top and store bought legs. All the seams in the top were splitting, because, as it turned out, he’d glued the top together with no other reinforcement. That’s right folks. No nails or braces of any kind. So in the non-temperature controlled environment of the sun porch, it was coming apart.
D— did a marvelous job of repairing the wood and I bought a new tile to put in it. A much better color, if I do say so myself. And lots and lots of metal straps holding the wood together underneath the top and on the legs.


The inspiration for the tiled coffee table came from a decorating show I used to watch on the Discovery channel about 20+ years ago. Lynnette Jennings broke up a bunch of blue & white plates and tiled a side table with them.
Well, as cool as I thought this idea was, it also seemed to me a bit impractical. Plates aren’t flat so it would be hard to actually use the table for setting anything on. My idea was to go to the local tile distributor and get pieces that were on closeout. I found some great plain blue, turquoise, gray, and 2-3 kinds of white glazed ceramic tile. I took them home, wrapped a towel around them, laid the towel on my sidewalk and hit them with a hammer.
The maple legs came from a junk store for $20. The bottoms were a little chewed up though, so I cut about an inch off. Then, they were too short for the standard coffee table height (16″-18″), so I bought some bun feet at my local Lowe’s. A little white paint and they were good to go.


The design for the structure of the table came from buildeazy.com. I didn’t have to chisel the inside of the legs, because they were already like that. I did adjust my measurements to suit the size of top I wanted and the thickness of the top of the legs. I choose a 1/2″ plywood for the top. Thick enough to give it some strength, but not so thick that the weight would make it difficult to move around when I was vacuuming. The sides are made from oak for durability, and I finished the edges with lattice to give a bit of a tray to hold the tile and give a nice clean look.
-

- elevated for painting
-

- didn’t paint the top. it’s going to be tiled anyway
-

- how the sides went on before the legs
-

- view from underneath
I laid out the total design on paper before I opened my adhesive. I thought the best way to put them on the table would be the way I’ve seen tile flooring go down. Spread out the adhesive with a notched trowel, then stick the pieces on. Nope. I couldn’t lay the pieces out fast enough. The best choice turned out to be buttering the back of each piece and then setting it in place. This decision was reinforced by the fact that, as careful as I was in my design: no colors next to the center tile, only tiles with rounded edges on the outside, all white on the outside except for the centers; as soon as I got the center and the edges done, my entire design fell apart.
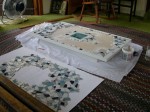
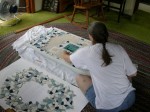

I couldn’t get the pieces in exactly the same places that I had them on the paper. So I had to wing it and hope I was close.
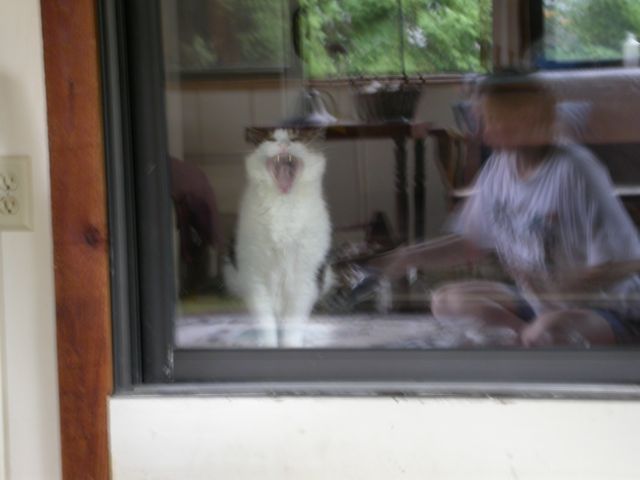
The cat is bored senseless by this whole undertaking.
After a few days of letting the tiles set up, I put white grout on and sealed it 3 times. Over the following few weekends, I took a Dremel wheel to the edges of most of the tiles, because, as it turns out, the different colors were different thicknesses. The thicker ones stuck up above the others, in spite of my efforts to raise the thinner ones, and the sharp edges were dangerous.
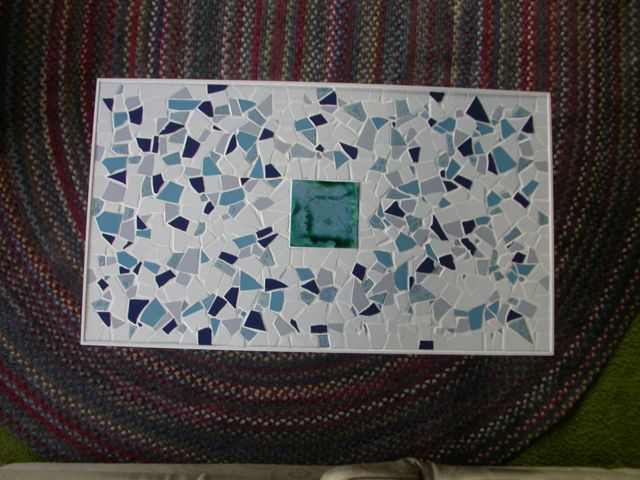
The finished top
I still need to get a router and grind the edges of the lattice down to meet the top of the tile, but we’ve lived with this pretty happily for the last several years the way it is. I think the focal tile looks perfect here.
The big lesson from this was to make sure the tiles are at least close to the same thickness. The rest of the table assembly was easy. Flip it upside-down and secure the legs with bolts.
Oh wow, I REALLY love it! Wonderful job! You’re right, that center tile is beautiful!!
Pingback: The Sun Porch | The Debby Project