
Here we are at the end of another UFO (unfinished object). I love the feeling, because it has me looking around for the next new thing. It’s more fun to start a new project than to finish something that’s been hanging around for a year. Ah, the possibilities.
On the other hand, there is something satisfying about sitting back and breathing a sigh of relief that I accomplished something all the way to the end.
Here are the plans I drew up to finish the glass tile table.

Debby’s scribbles
I started with the sketch of the table top on the far left. I drew out the design for the whole table on the graph paper, paying no attention whatsoever to the actual grid. I think it jut made me feel more draughtsman-y to use graph paper. And the template on the right is what I used to cut the bottom of the sides so I had little legs. I did you use the grid for that.
After scavenging the wood pile I already had from previous projects, I was able to get away with only buying some screws, wooden plugs to cover some of the screw holes, and one 1′ x 6′ poplar board. I like poplar better than oak for painting. It has a tighter grain. It’s way easier to sand, and it’s still harder than pine.
If you remember from the first post, I had gone to an unfinished wood furniture store and flipped over a bench they had there so I could get an idea of what the supports underneath looked like. I knew what to do from making my coffee table a few years ago as well.
-

- Under the Top
-

- The legs are attached
-

- Little bumper feet
I drew out where I wanted the legs to fall, glued and screwed in my cleats (cut at a 45° angle for neatness), and did the same for the legs. I didn’t want the legs to sit flat on the ground because a) my power tools are not state of the art and so the table might not be level, and b) this is going to sit outside and I didn’t want any water to be able to wick into the wood and rot it. I couldn’t find any prefab feet that were small enough, so I used picture framing bumpers and nailed them on. Perfect!
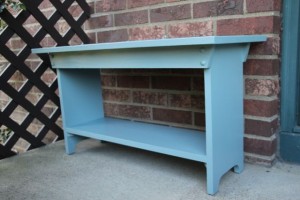
I double checked my measurements and cut the shelf for the bottom. I wanted a shelf to make it super sturdy and for a potential display space. If I hadn’t put on a shelf, I would still have had to run a support across the bottom, so why not make it functional?


These pictures were taken after I did the priming. I was so busy trying to get the thing done that I forgot to stop and take pictures along the way. After I had the shelf on, I put on the side facings.

inside the top
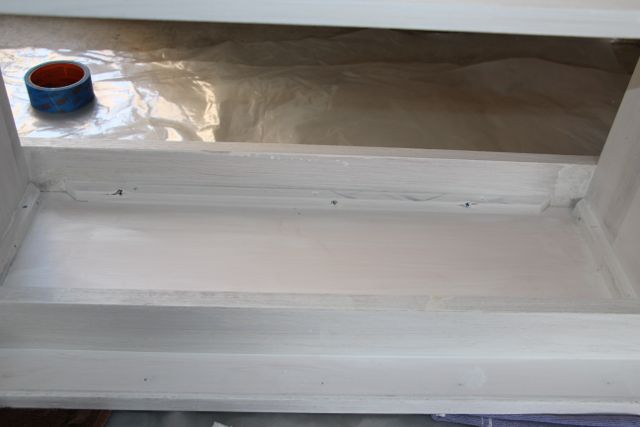
The facings hide the support cleats and give additional rigidity to the top. In case someone decides to sit on it or put an anvil down on it. And they look nice. Next I painted it all a shade to match the center tile. It’s such a close match that I was afraid anyone looking at it might think that I’d only put a plain glass tile in the center and let all the painting show through. Not so. I’m just that good, folks!


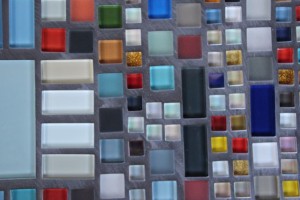
I let it dry overnight (2 coats of paint), and taped of the edges to keep the grout from sticking where I didn’t want it to be.
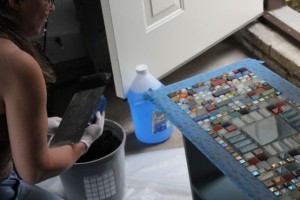
I forgot I was only supposed to slap on the grout with the trowel, so I was trying to spread the grout out with the thing. I finally remembered and used the float to squish the grout into the top. I had to do 2 layers of this, since some of the tiles had more than an 1/8″ between them.


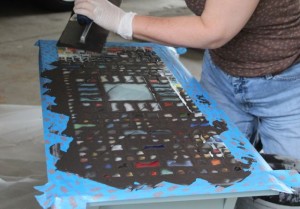
-

- applying the final layer
-

- before I got the excess wiped off
-
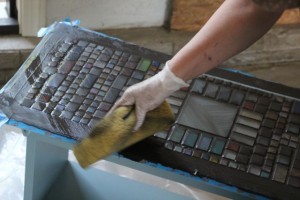
- wiping down some excess grout
I let this all sit for an additional 24 hours. Then I stripped off the tape, touched up the paint around the edges of the top, put it on the front porch and sealed the grout. A lot.


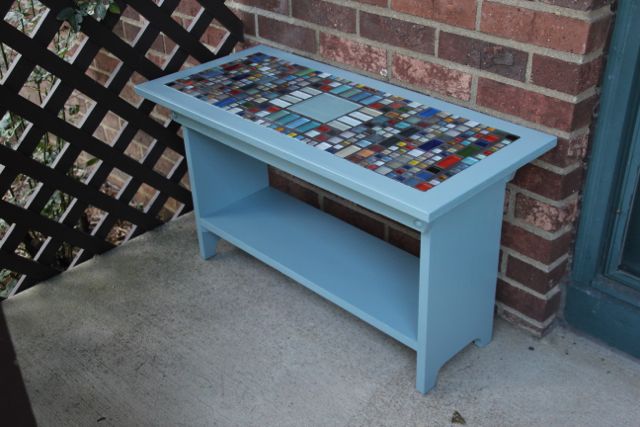
I’ll bring it inside in the winter, but for now, I think it looks pretty great right there.
Ah, yes, it looks super on the front porch, just picking up a lighter shade of the door.